
Customer scenario
All calls currently go to the same support queue, as there is only one queue available. However, this setup means that customers' needs are not being efficiently addressed, and agents may not always be best suited to handle every inquiry.
Opportunity
By gathering information about the customer's needs before connecting them with an agent, we can enhance the efficiency of our support process. This allows agents to prepare adequately and provide more accurate assistance, leading to better service and increased customer satisfaction.
Solution
- Let the customer choose the option in the IVR that best matches their inquiry.
- Save this option in a variable.
- Present their option for agents answering the queue.
Click on the tabs below to get a step by step guide on how to Present IVR option for answering agent in your PBX:
Get started
Prerequisites
- Advanced Nodes activated.
Create new IVR or use existing
- If this is your first IVR, please refer to the support page for info on how to set up an IVR with standard nodes How to set up your PBX services.
- The image to the right is an example of a complete IVR setup to cater for this use case. Use this as a reference to create your own IVR flow in the Admin portal.
- The following steps will go through the setup of the Advanced nodes marked with green in the IVR flow, as well as how to set up a Call Widget to display information for the agent.

Save the chosen alternative from the IVR
Add Set Variable node
Choose an empty box in your IVR and click Advanced > Set Variable to add the node.
In this node we will save the choice that the caller made in the IVR so that we can present it to the agent answering the call.
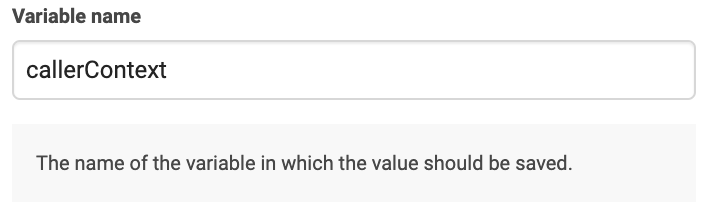
Variable name
Choose what you would like to call the value that you save.
The variable that is saved here can be accessed later in other Advanced Nodes or in a Call widgets. A Call Widget can display information about a call to the agent answering it.
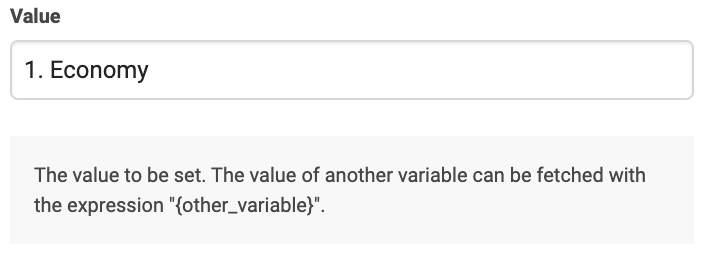
Value
Enter the value of this new variable. In this case we set the value to represent what the caller chose in the previous IVR. Here is an example of what we could set the value to in the three different Set variable nodes, which would match the IVR choices:
1st Set variable node: 1. Economy
2nd Set variable node: 2. Technical Support
3rd Set variable node: 3. Administration
Present IVR choice to agent answering
Add a new Call Widget
Call widgets can be managed directly in the Admin portal under Users > Call Widgets > Manage call widgets.

The greyed-out Call Widgets displayed here cannot be changed. They are usually added automatically by integrations that are installed in the App Directory. For example the BankID Integration or a Contact Lookup integrations.
To create a call widget you press Manage call widgets at the top of the page and then Create new call widget. (shown in the image above). When creating a call widget you will be presented with something we call the Widget Builder, where you can create a customised call widget that fits your needs.
In this example we will only add information about the IVR choice of the customer. The fields not mentioned here can be left empty.
Name
The first thing you will get to enter is a Name for your call widget, this is only used to keep the call widgets organised and the name is not displayed on the call widget itself.

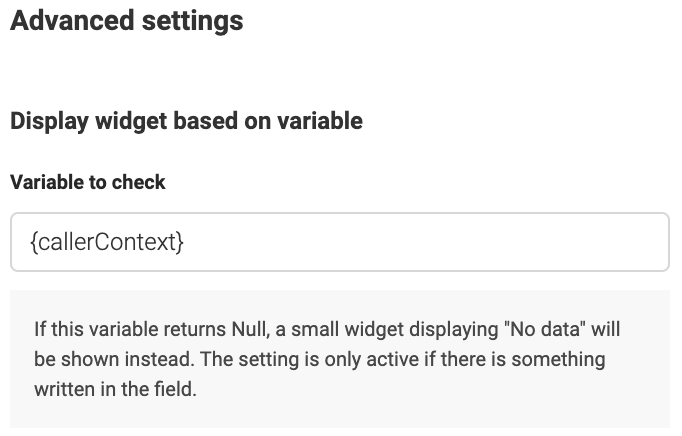
Display widget based on variable
Under the next tab: Advanced settings, you can choose if you want the call widget to automatically be hidden if a certain variable has no value.
In this example we will use the variable callerContext. By adding that variable here, you can make sure the agent answering the call does not need to see the call widget if the customer hasn't made a choice in the IVR.
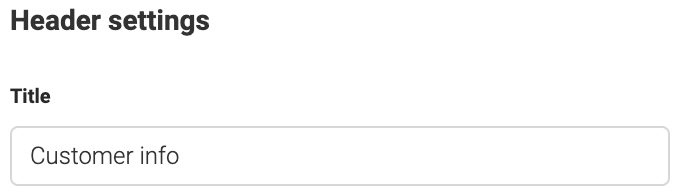
Header Title
Next, you have Header settings, which is the base of the widget. Choose a title to be displayed on the widget.
Content row Title
Lastly, you have Content rows, which you can add if you press "+ Add content row". You can add up to 5 content rows. These are used to display dynamic information taken from variables related to the call. But it is also possible to use them for static information if needed.
Here we will add the information saved about what the call is regarding, for the agent to see. This can be found inside the variable callerContext, which was saved from the IVR.

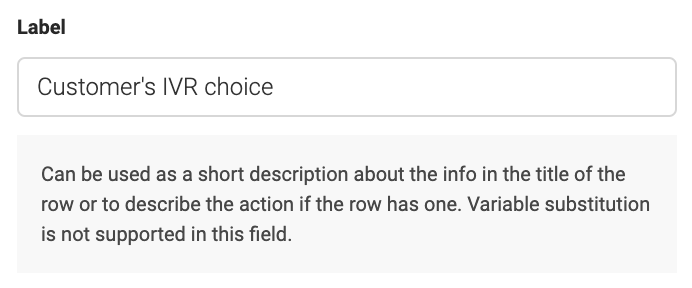
Content row 1 - Label
You can add a Label to the content row which makes it clear what the row is displaying.
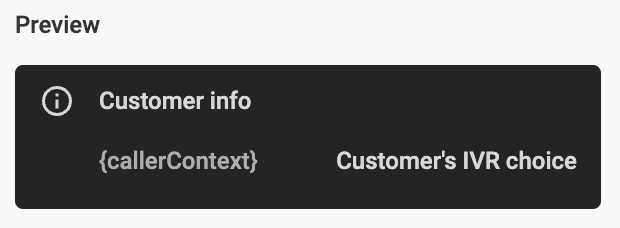
As you can see in the preview the widget should now look something like this:
Add a Call widget to a user
- When the widget is created you press Create widget.
- Then mark the users in the table view who should be added to this widget.
- In the right side panel menu click on Add widget.

- Mark the widget you just created and assign it to the users.
- And then simply click on Add widget.

Now for their next call they will see the information your Webhook collects visible in the call modal.