
Customer scenario
Many customers want to get specific information relevant to their order, but have to wait in a general queue for an agent, who then must manually check the order number against their CRM system to be able to provide the information.
Opportunity
Providing relevant information early in the call reduces waiting time for customers and frees up agents to deal with more urgent enquiries.
Solution
- Ask callers to enter their order number using the telephone keypad.
- Automatically check the order status in your CRM system.
- Play a different pre-recorded message based on the order status.
Click on the tabs below to get a step-by-step guide on how to Automatically play customer order status in your PBX:
Get started
Prerequisites
- Advanced Nodes activated.
- An API point to reach your CRM system, e.g. www.yourcompany.com/orders/{orderNumber}.
- Access token to the API (if needed by your system).
- A set of pre-recorded messages.
Create a new IVR or use an existing one
- If this is your first IVR, please refer to the support page for info on how to set up an IVR with standard nodes: How to set up your PBX services.
- The image to the right is an example of a complete IVR setup that caters to this use case. Use this as a reference to create your own IVR flow in the admin portal.
- The following steps will go through the setup of the Advanced nodes marked with green in the IVR flow.

Ask the caller to enter their order number
Add Save Keypad Input node
Choose an empty box in your IVR and click Advanced > Save keypad input to add the node.
The caller will be asked to enter their order number through a pre-recorded message, which will later be used to fetch the order status.
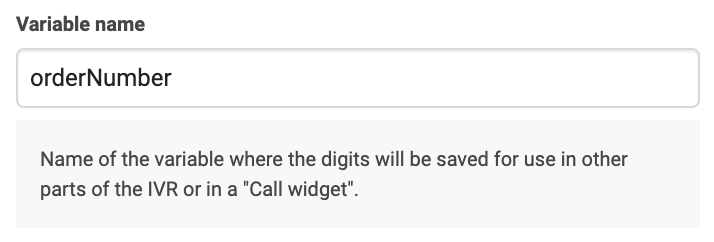
Variable name
Name of the variable where the digits will be saved, in this case we will call it orderNumber.
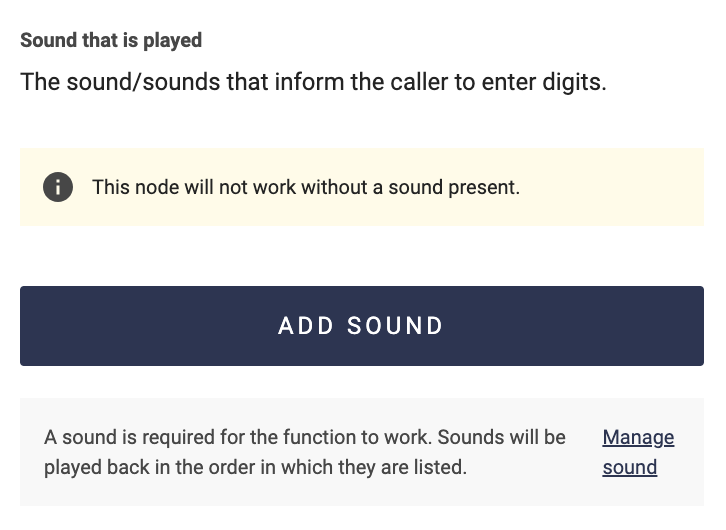
The sound that is played
Add a phrase prompting the caller to enter their order number to receive their order status.
Minimum and maximum digits
Specifying how many digits a valid number must have can make it easier to know what type of number the customer should enter.

Check order status with an HTTP request
Add HTTP Request node
Choose an empty box in your IVR and click Advanced > HTTP-request to add the node.
This node will send an HTTP request to your CRM system to request order status information.
URL
Enter the URL address to the HTTP request, including the orderNumber variable.
To include the caller’s phone number, write {system.caller}. The number will be sent in E.164 format (e.g. +46706170786).
Keep in mind that the request is sent from the Telavox network, which means that the system needs to allow requests made from the network 80.83.208.0/20.

What is an HTTP request?
HTTP works as a request-response protocol between a client and a system. What information you can receive from the system and how to reach it is specified in its API.
This example requires an API point which can accept a request containing an order number and send back a response of what the corresponding order status is. The system that the request is sent to could be your own, or the API of a supplier that you use.
Variable name
Choose what you would like to call the response from the HTTP request. The more accurate the description, the easier it will be to understand in the next node when we will use it.
The variable that is saved here can be accessed later in other Advanced nodes or in a Call Widget. A Call Widget can display information about a call to the agent answering it.
What will my response be?
What the response will be can differ, depending on the design of your API. In this example the response can be one of four different words used by the CRM system, and we will call it orderStatus.
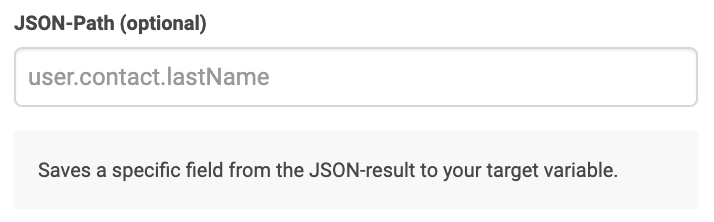
JSON-Path
Choose this based on what format the response from the API will be in.
If the response from your system is already exactly what you want to save in the variable, such as “shipped” or “delivered” in this case, then no need to write a JSON-Path.
But if the response is an object of information, where you need to extract the specific part needed for the variable, then enter the path to that part here.
Example of a JSON object:
{
“order”: {
“id”: “123456”,
“status”: “delivered”,
}
}
To save the correct part in the variable, enter order.status as JSON-Path.
HTTP Method
Specify which method the API endpoint uses, either GET or POST.
In this example, we use GET since that is the standard method for a request that shows information from the system database (like order status).
When do I use POST?
In most cases POST is used when the API request is not for displaying information, but instead updating the system database. E.g. an API request to add the calling number to a list in the database.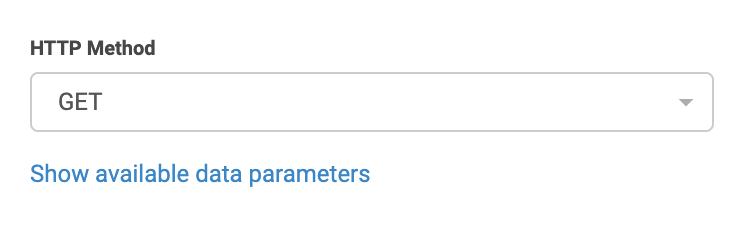
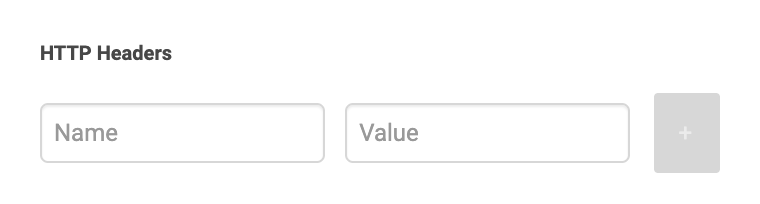
HTTP Headers
Here you get the option to input headers into the request if they are required by your system. This could be for authentication purposes for example. Another way to authenticate without using headers is to make sure the firewall of your service allows requests made from 80.83.208.0/20.
Once you have entered a Name and a Value, click the button to add this header to the request. You can add several headers.
Are there any limitations on what I can send in a header?
It’s not possible to send nested objects/JSON; there is only one plain text name and value per header.
We do not support OAuth which is an authentication method used in e.g. Microsoft Dynamics. It requires a token being sent back and forward which is not possible in Advanced Nodes.
Play different messages depending on order status
Add Condition node
Choose an empty box in your IVR and click Advanced > Condition to add the node.
This node will lead the call to different pre-recorded messages, depending on which condition the variable (order status) meets.
Variable name
Enter the name of the variable that this node should check, in this example orderStatus.

Conditions
There are several different types of conditions. Click on Read More to learn about them and choose the option that fits your needs.
In this example, the response could be one of four different statuses, as decided by the CRM system. The conditions each lead to a different path to a pre-recorded message. After the message has been played, the caller will be routed back to the previous IVR and can choose to end the call or talk further with an agent.
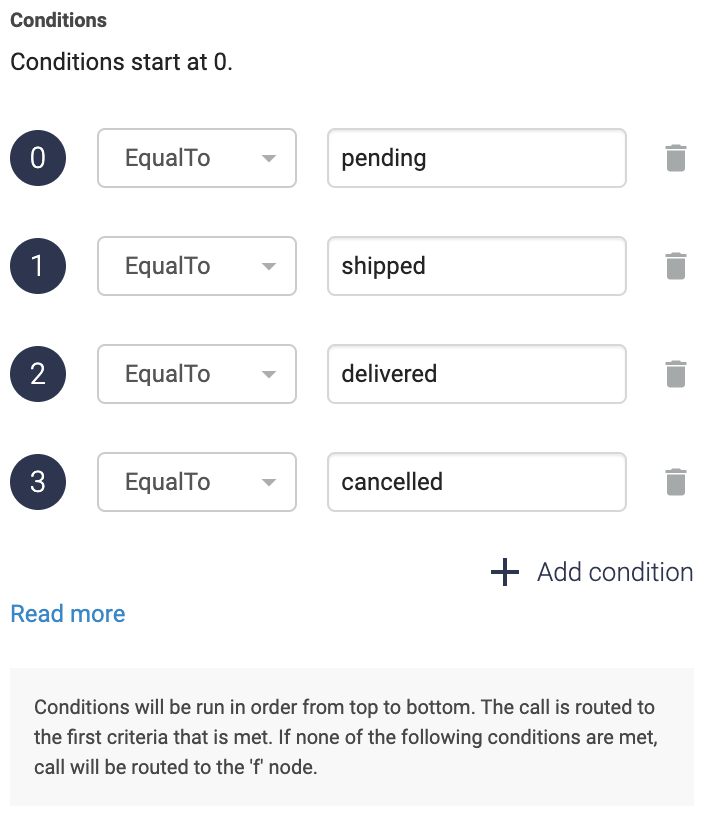
EqualTo or Contains?
Choose EqualTo when the variable must match the value exactly. Contains is used when the value must be found in the variable as a part of it. E.g. +46123123123 contains +46.
What do I do if I need to add 100 different EqualTo conditions?
Each condition needs to be added manually, but instead of adding that many conditions, there are some options to consider.
- If you find yourself needing to add 100 different conditions, you might want to create an API endpoint in your system and use the HTTP node instead. The endpoint would then receive the number and can return a corresponding response from your database, for example the number of the correct queue to send the call to.
- If you have a number series that should all have the same outcome, e.g. numbers 1-5 should all lead to the external support queue, you can use GreaterThanOrEqual and LessThanOrEqual instead of EqualTo. Use two conditions-nodes instead of one. In the first one, you choose GreaterThanOrEqual: 1. All numbers that match this condition will continue to the next condition-node where the condition will be LessThanOrEqualTo: 5. If a number passes this condition as well, you know that they are within the range 1-5 and can send them to the external queue.
